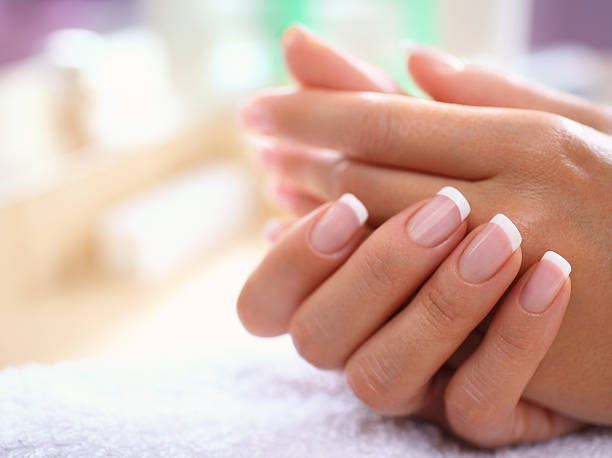
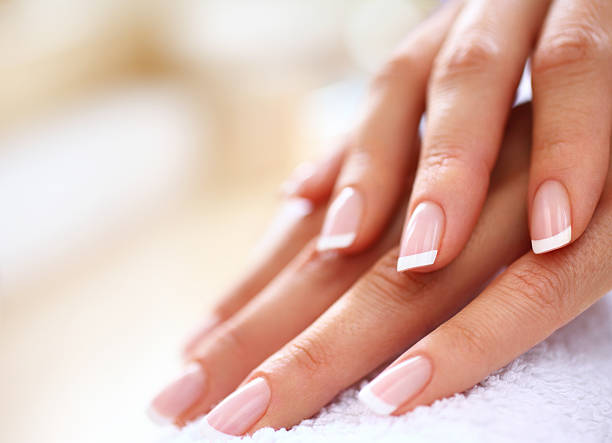
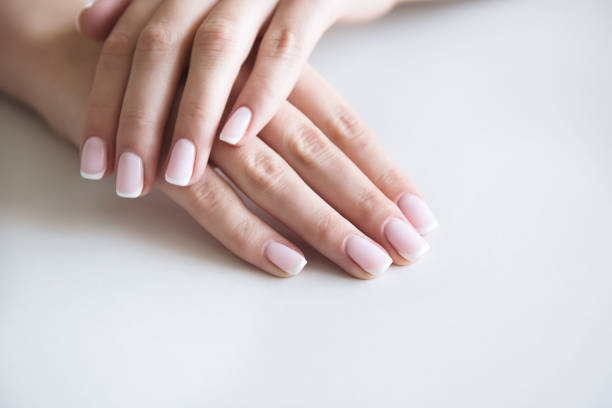
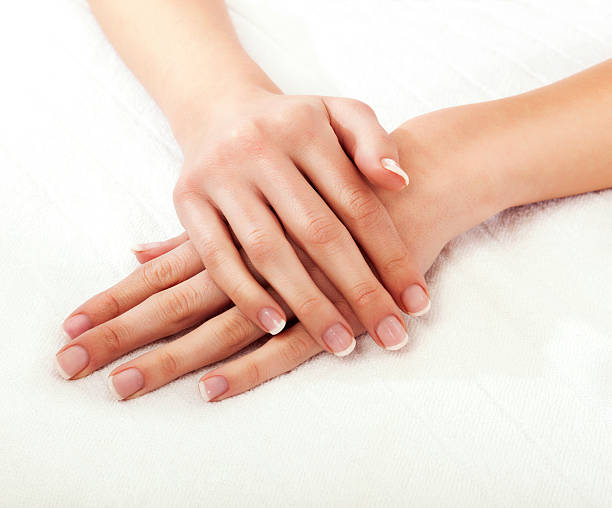
How to Create a French Manicure at Home in 5 Steps
Creating a French manicure at home is not only cost-effective but also a rewarding way to enhance your nail care skills. The elegance and simplicity of a French manicure make it a timely classic, suitable for both everyday wear and special occasions. You don’t have to be a professional to achieve a salon-quality look. With the right tools, a little patience, and this step-by-step guide, you can perfect your French manicure in the comfort of your own home. Indulge in a creative self-care routine that leaves your nails looking pristine and sophisticated. Let’s dive into the process and unleash your inner nail artist!
Step 1: Gather Necessary Supplies
Before you start, it’s crucial to have all your supplies ready. This will make the process smoother and more enjoyable. Here’s what you’ll need:
- Nail file and buffer
- Base coat nail polish
- White tip polish or any desired tip color
- Top coat nail polish
- Nail polish remover and cotton balls
- Optional: Nail strips for precise tips
Choosing the right nail polish colors is equally important in achieving the perfect French manicure. Opt for a nude or light pink base that complements your skin tone, coupled with a sharp white tip, for a classic look. When it comes to brands, nan it’s best to look for high-quality options to ensure a long-lasting finish.
Step 2: Prepare Your Nails
Proper preparation of your nails sets the stage for a flawless manicure. Begin by removing any old polish with a gentle remover. Next, soak your hands in warm soapy water for a few minutes to soften the cuticles. Once soft, gently push back your cuticles using a cuticle pusher. Trim and file your nails to the desired shape, and buff the surface to create a smooth canvas.
Nail care tip: Always file your nails in one direction to avoid splitting. Ensure your nails are dry and free of oils before proceeding to the next step, as any moisture can affect the application of the polish. A crucial part of this process is to make sure all edges are smooth; rough edges can cause the polish to peel prematurely.
Step 3: Apply Base Coat
Applying a base coat not only protects your natural nails but also provides a smooth foundation for your manicure. The base coat prevents staining from the colored polish and helps the manicure last longer. Apply a thin, even layer of base coat and let it dry completely. This usually takes about one to two minutes.
Here’s a quick drying tip: if you notice bubbles forming as the coat dries, it’s usually due to applying too thick of a layer or in an environment that’s too warm. Let each coat dry thoroughly before applying the next; patience is key in this step. Below is a table summarizing drying times and common tips:
| Product | Average Drying Time | Quick Tips |
|---|---|---|
| Base Coat | 1-2 Minutes | Apply thin layer |
| Tip Polish | 2-3 Minutes | Use strips for precision |
| Top Coat | 2-3 Minutes | Allow full drying between coats |
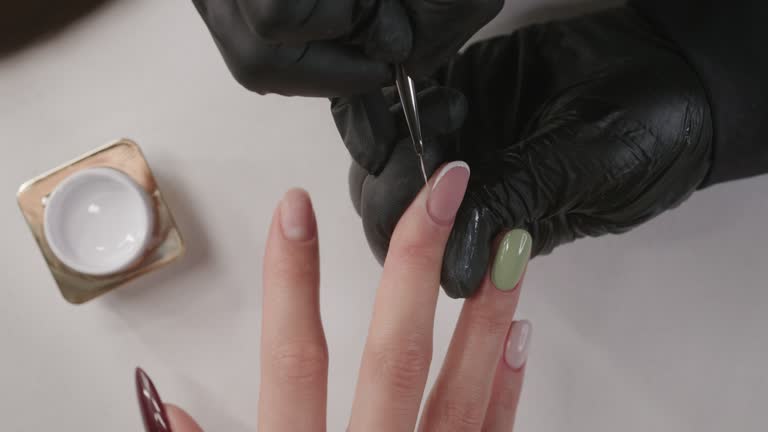
Step 4: Create the French Tips
Now it’s time to create the hallmark of a French manicure: the white tip. For beginners, using nail strips can be an effective way to achieve precision. Place a strip just below the tip of your nail to create a guide. If you’re going freehand, steady your hand and use a thin brush to paint the tips. A steady approach is crucial to maintaining consistency across all your nails.
Techniques for a Flawless Tip:
- Using nail strips ensures uniformity across each nail.
- Freehand painting requires a slow and steady hand.
- Practice on a piece of paper or old nails to perfect your technique.
- Correct any mistakes with a small brush dipped in polish remover.
Once applied, let the tips dry thoroughly before moving on. This prevents any smudging when you apply the top coat.
Step 5: Apply Top Coat and Finish
The top coat is essential for sealing your manicure and adding a glossy finish. Apply one or two coats but ensure each layer dries thoroughly to prevent bubbling or smudging. A good top coat will protect your nails from chipping and enhance the shine, giving them a professional look.
For a longer-lasting manicure, consider applying a top coat every few days. Additionally, fast-drying top coats can significantly cut down on overall drying time. Finish by moisturising your hands and nails with a nourishing oil or cream, which helps to maintain the health of your cuticles and overall nail condition.
Conclusion
Creating a French manicure at home is an enjoyable and fulfilling process that can be done in five straightforward steps. With the right preparation and attention to detail, you can achieve a salon-quality look without the hefty price tag. Remember, practice makes perfect, and experimentation with different colors and styles can bring a unique twist to the classic French manicure.
So why not schedule a spa day at home, hone your nail art skills, and achieve the perfect classy look for any occasion?
FAQ
- What are the best nail polish brands for a French manicure?
Reputable brands such as OPI, Essie, and Sally Hansen are often recommended for their long-lasting formulas and rich colors.
- How often should I touch up my French manicure?
Depending on your lifestyle and how quickly your nails grow, touching up every 7-10 days usually keeps your nails looking fresh.
- Can I do a French manicure on short nails?
Absolutely! French manicures can be adapted for short nails by adjusting the width of the tips to suit the nail length.
- What if I make a mistake during the process?
Mistakes happen, and they can easily be corrected with a fine brush dipped in nail polish remover, allowing you to redefine lines as needed.